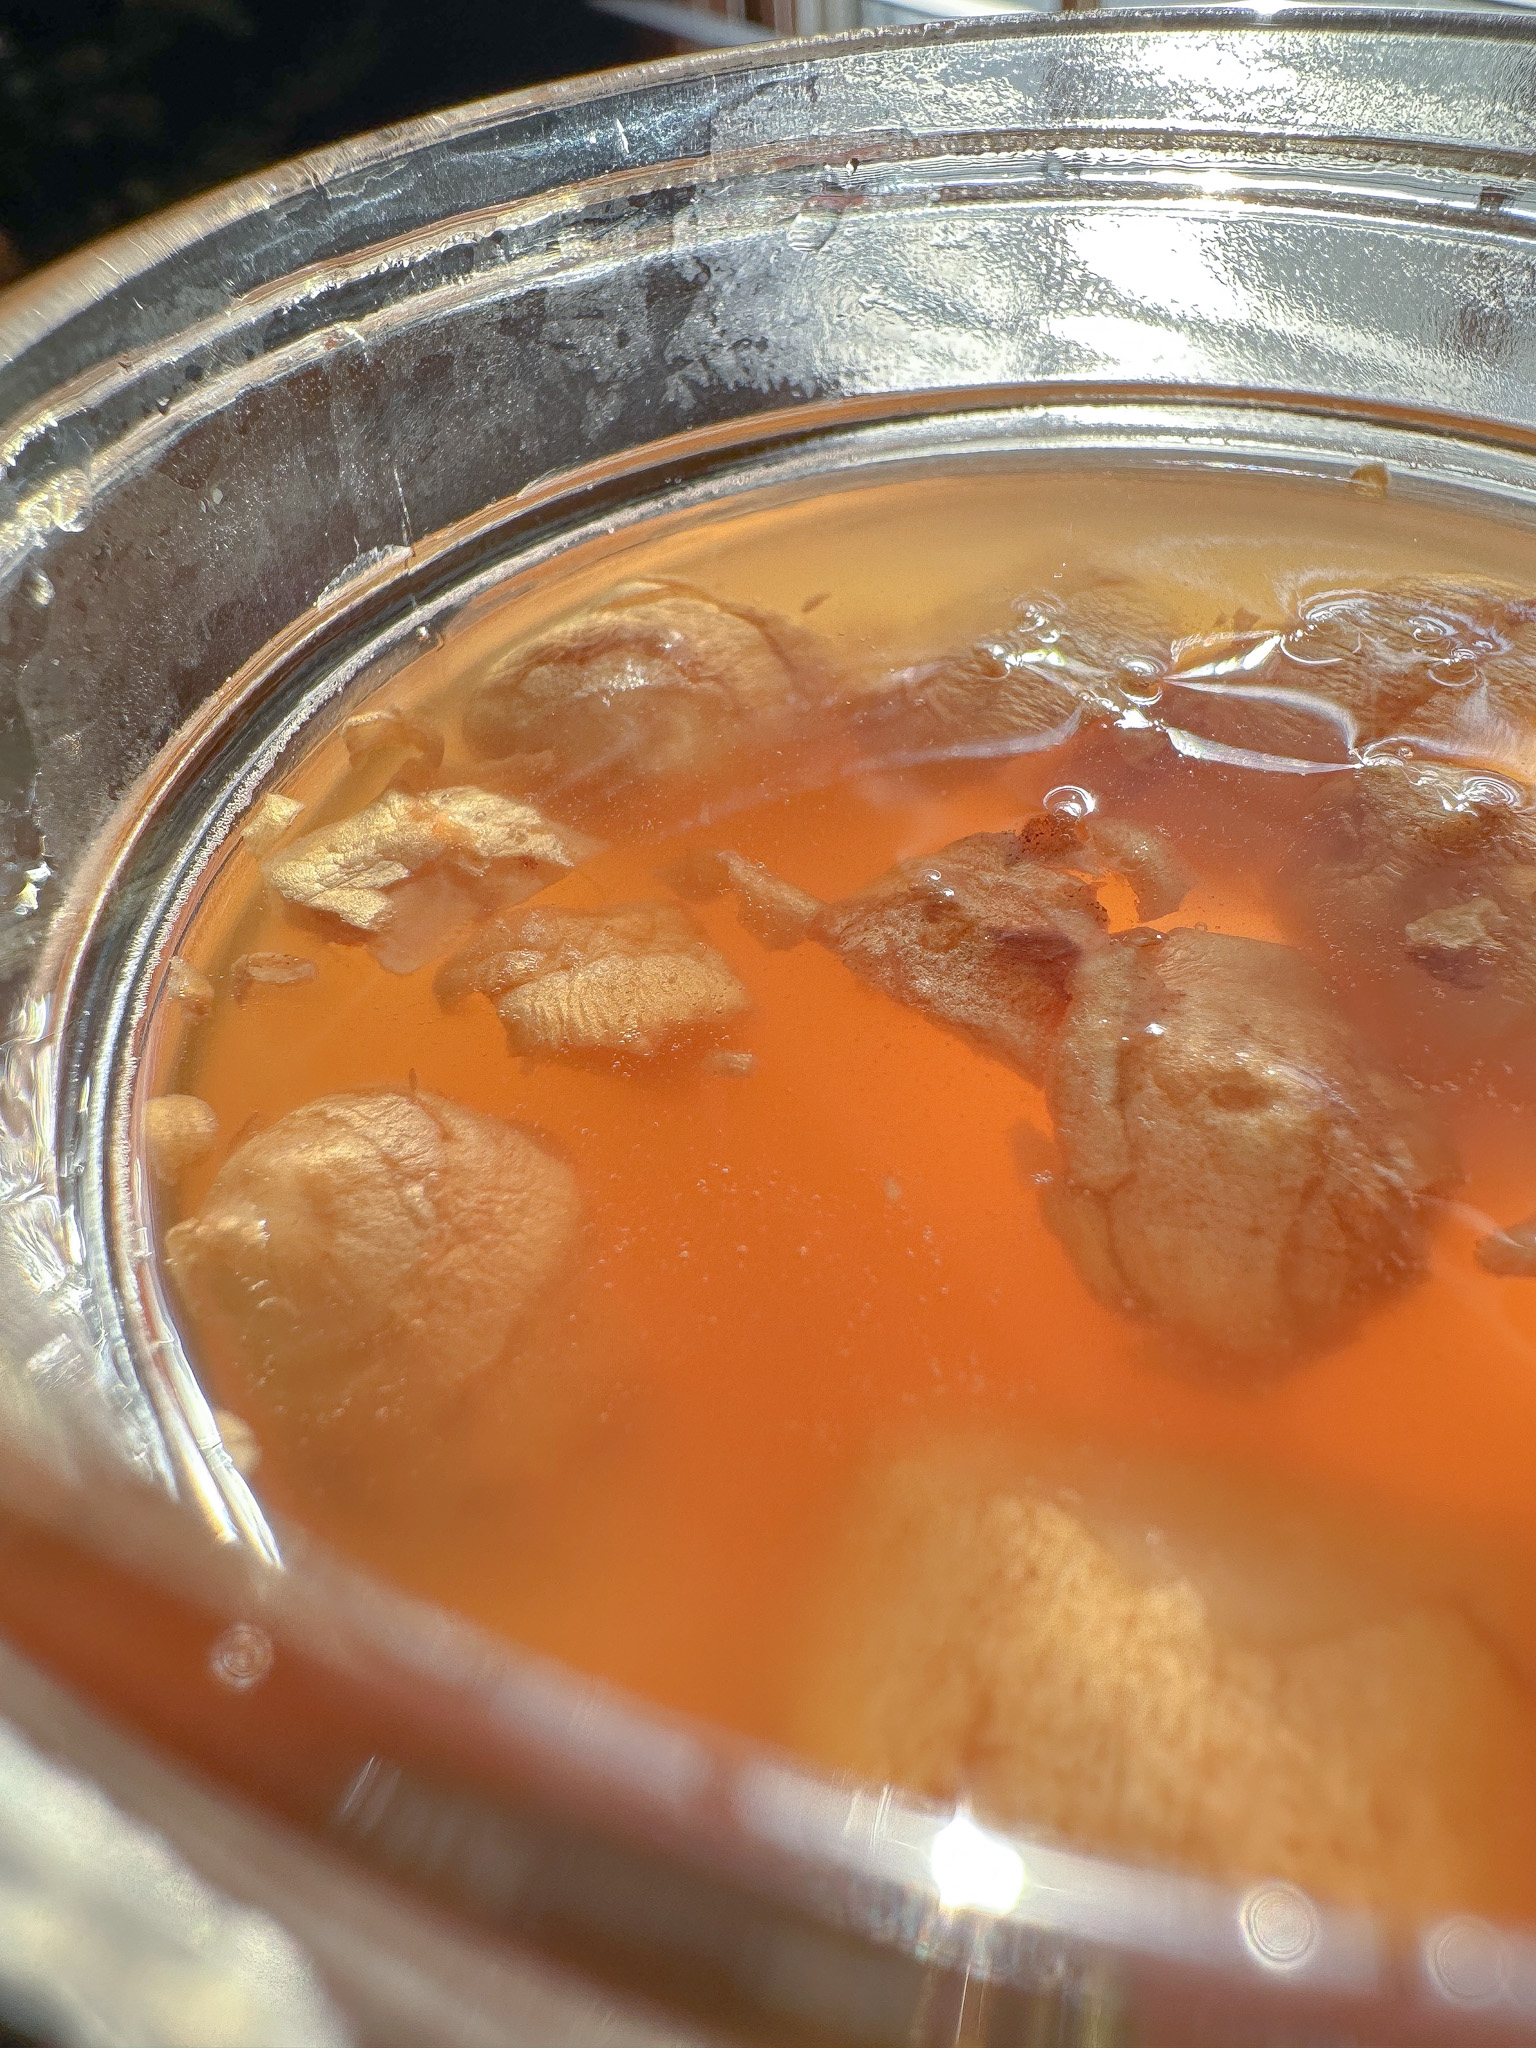
A few weeks back I shared how to make a ginger oxymel. If you missed it, you can read about it here. It was ready to be strained two weeks ago. But it’s a busy time of the year. You know how it goes. I actually infused it for about 4 weeks instead. Now that it’s ready, I’ll share the next steps.


There are a few essential supplies required to get everything strained. The first thing is a funnel. I use a wide mouth funnel since I generally use wide mouth mason jars, like this one here. The second thing is a strainer/colander. I use this one. The next thing is either a plastic lid to keep the metal from leaching into the ingredients. Or a piece of parchment paper to separate the metal from the contents inside. I prefer the plastic lid. Like this one. And the last item is a sterilized mason jar. I used a quart size for my oxymel.
WHY GINGER?

Ginger is a powerhouse. It’s been traditionally for its an anti-nausea, antioxidant and anti-inflammatory properties. I find it effective as a digestive aid. But also, it tastes good! Ginger ale, yum. Ginger beer, yum. All the ginger. Plus, the raw honey and apple cider vinegar created this complex flavor that makes you want to come back for more. It’s a delicious way to get those ginger properties into your blood stream.


GINGER OXYMEL (PART 2)
Materials/Equipment
- A sanitized mason jar
- Infused ginger oxymel (found here)
- A funnel
- A strainer
Directions
- Prepare the sanitized mason jar by placing the funnel inside, followed by the strainer.
- Give the infused oxymel a good shake then pour the contents over the prepared mason jar.
- Seal with an airtight lid.
- Enjoy!
One response to “GINGER OXYMEL (PART 2)”
[…] few weeks back I posted about a ginger oxymel I made. You can read it here. It’s delicious. And it’s a great way to take advantage of the properties of ginger. […]