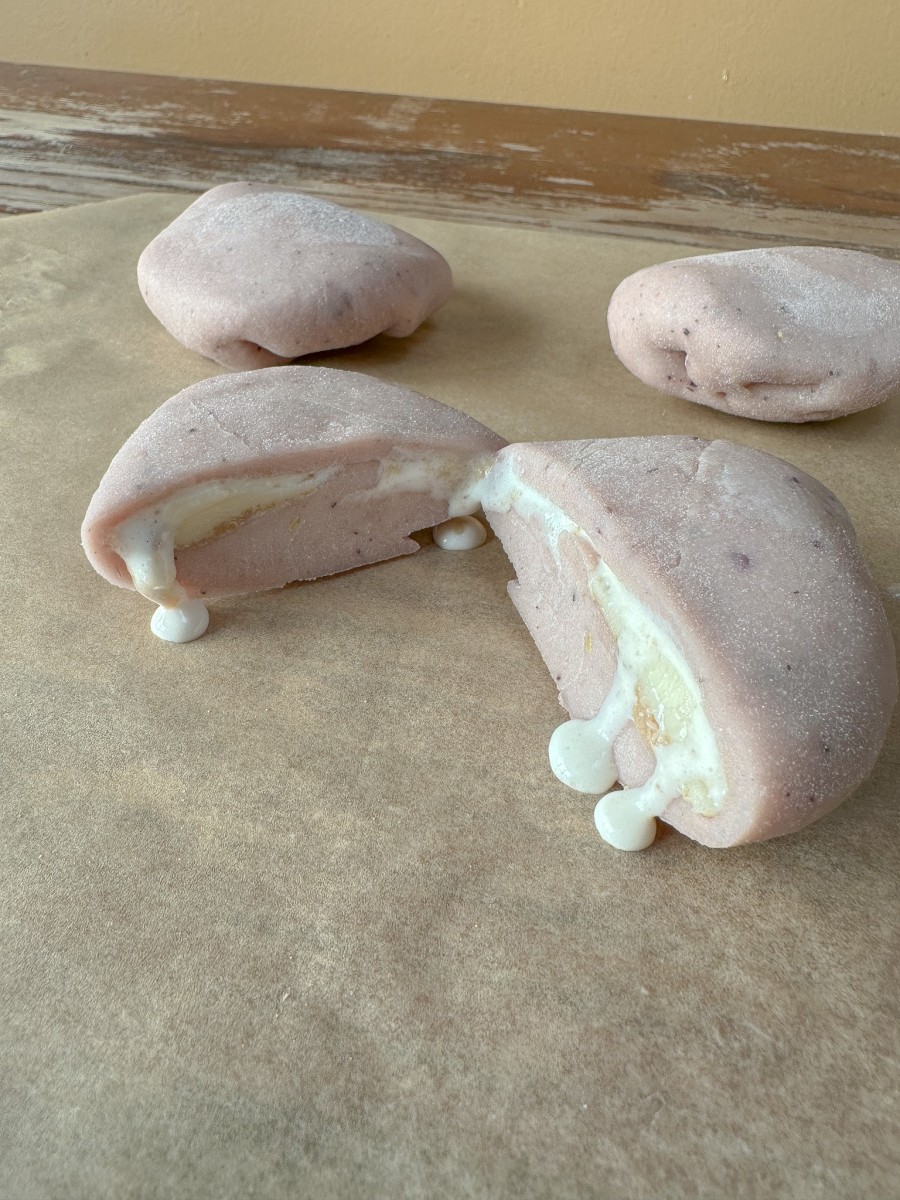

Have you ever had mochi? You know, those adorable little desserts you see everywhere now. If you haven’t happened upon any yet, they are little dough balls filled with ice cream (or paste). They’re so cute and delicious so I thought I’d try my hand at making my own. I knew immediately I wanted to incorporate a tea that both tastes good and looks beautiful into the recipe. These strawberry passion tea mochi were everything I imagined plus more!

I used Passion tea by Tazo. It’s loaded with delicious hibiscus flower, orange peel, rose hips, passion fruit and cinnamon. I knew it would pair perfectly with strawberries, which I already had in the freezer, and it will give my mochi a beautiful pink color.

I wanted a delicious ice cream filling so I explored the ice cream isle and found Raspberry Cheesecake by Ben & Jerry’s. When I say this is the most perfect ice cream, I’m not exaggerating. It’s perfect! And it worked great as the filling for my mochi.

STRAWBERRY PASSION MOCHI RECIPE
Ingredients
- 15 tablespoons of sweet rice flour
- 1/2 cup of frozen (or fresh) strawberries
- 1/2 cup of almond milk
- 3 tablespoons of granulated sugar
- 3 tablespoons of cornstarch
- 1 1/2 tablespoons of unsalted butter
- 1 Tazo Passion tea bag
Directions
- Using a blender, add the strawberries and almond milk and blend until the strawberries have liquified.
- Add the Passion tea bag and continue blending until incorporated.
- In a small saucepan with a thick bottom, slowly simmer the sweet rice flour over low heat. Mix constantly until there’s a slight corn aroma.
- Transfer the sweet rice flour into a microwave safe dish then mix in the milk, strawberry and Passion tea mix.
- Cover with plastic wrap and poke holes in the top (I probably poked around 20 holes).
- Microwave for 1 minute then use a rubber spatula to mix. Cover again then microwave for another minute. The dough should look slightly shiny, if not then microwave again 30 seconds at a a time (mixing with the spatula in between) until it does.
- Remove the plastic wrap and mix in the butter.
- On a clean surface, evenly spread cornstarch then roll out the dough using your hands.
- Knead and fold until the dough has firmed up and lost its tackiness. It should be smooth and silky.
- Portion the dough into even sections then roll out each section into thin circles.
- Add a scoop of ice cream in the center in fold in the edges until they crimp together in the center. Follow this process until all sections are done.
- Store in the freezer until ready to serve.
- Enjoy!